
Drone Roof Photos for Insurance Claims in Nova Scotia: What to Capture, the Rules, and What It Costs

After a storm, you know something happened to the roof. There’s a shingle on the lawn, a stain on the ceiling, maybe a gap you can see from the street. What you don’t have is a clear look at the whole roof, and you shouldn’t be climbing up to get one.
Drone photos solve that part. A drone can capture every slope, the flashing, the chimney and the gutters in about fifteen minutes, without anyone on a ladder, and hand you dated, high-resolution images to send to your insurer or roofer. What a drone flight doesn’t do is assess the damage. That’s still the adjuster’s or the roofer’s job. The photos give them something to assess.
What Insurers Expect From You After Storm Damage
The Insurance Bureau of Canada’s standing advice after severe weather comes down to three things, repeated after every major storm:
- Document the damage with photos before anything is cleaned up or repaired.
- Take reasonable steps to prevent further damage when it’s safe, such as tarping a damaged roof, and call a trained worker if it isn’t safe.
- Keep receipts for emergency work and materials, and start the claim early, because claims pile up after a big storm.
Check your own policy and talk to your insurer about what they want to see. Requirements vary between insurers and policies.
Your Options for Getting Roof Photos
| Option | Good for | Limits |
|---|---|---|
| Photos from the ground with a good zoom | Obvious damage on visible slopes; immediate documentation | Can’t see flat roofs, back slopes or detail around chimneys |
| A roofing contractor’s inspection | An expert assessment; often free when you’re getting a repair quote | Tied to the contractor’s quote; availability is tight after big storms |
| Your insurer’s adjuster | The assessment that actually decides the claim | Timing is theirs, not yours, after a regional storm |
| An independent drone photographer | Full, dated imagery of every slope, quickly, that you own and can share with anyone | Images only. No damage assessment or written report |
They aren’t exclusive. A common, sensible sequence is ground photos the same day, a tarp if needed, then drone imagery you can send to both the insurer and two roofers for quotes.
What the Photos Should Show
Whether you shoot them yourself or hire someone, ask for:
- An establishing shot that shows the house and the street or civic number, so there’s no question which property this is.
- A wide view of each roof slope, straight on, so the whole surface is visible.
- Close views of damage: missing or lifted shingles, exposed underlay, dents, punctures.
- Flashing, vents, skylights and the chimney, where leaks often start.
- Gutters and downspouts, including debris and separation.
- Anything that hit the roof, such as a fallen branch, before it’s removed.
Keep the original files. Don’t filter, crop or edit them. The original file keeps its date and time data, which is useful if there’s ever a question about when damage occurred. Send copies and keep the originals.
Inside, photograph any ceiling stains, wet insulation in the attic, and damaged belongings before you clean up.
The Rules for Flying a Drone Over a House in HRM
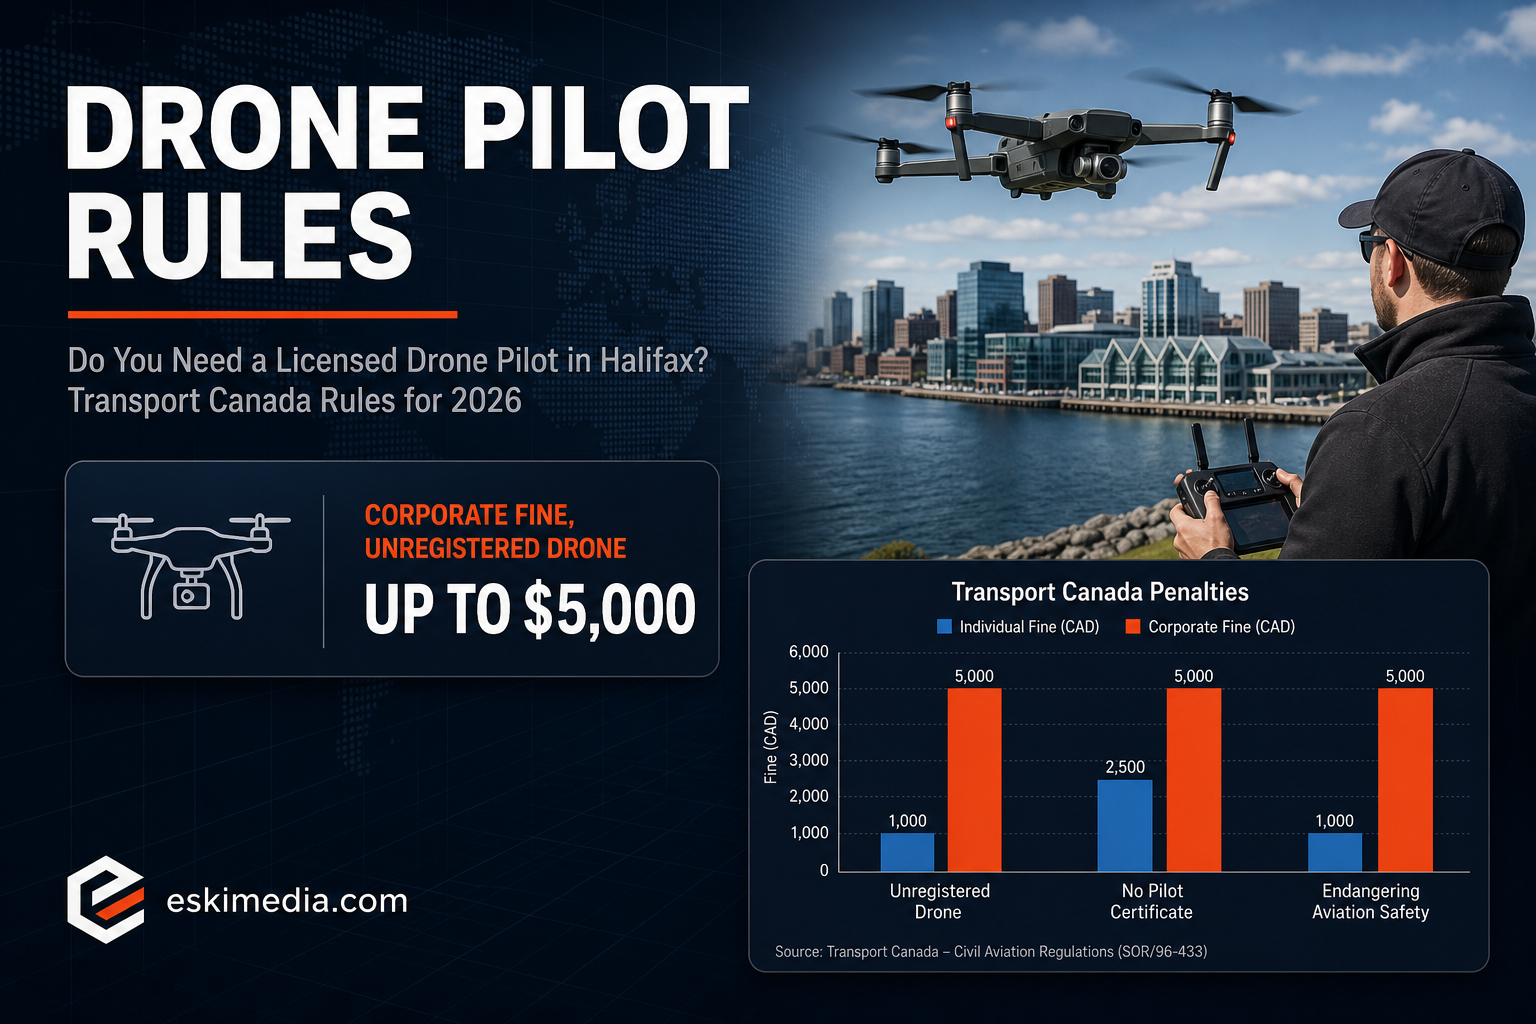
Photographing a roof for an insurance claim or a contractor is a commercial drone flight in Canada, even for a single house. The pilot needs a Transport Canada certificate and a registered drone. Flying close to or over people who aren’t involved, or in controlled airspace, needs an Advanced certificate. Parts of HRM, including areas near Shearwater and the Halifax Stanfield control zone around Fall River and Enfield, also need an authorization filed in advance.
We covered this in detail in do you need a licensed drone pilot in Halifax. The short version for homeowners: ask for the pilot’s certificate level and whether your address needs an airspace authorization before the flight is booked. Our own pilot holds the Advanced certificate, and we file any authorization ourselves.
Two practical points after a storm. Drones can’t fly safely in strong wind, so imagery usually waits until the weather settles. And neighbours’ properties often end up in the frame, so a careful operator keeps the shots on your roof.
What It Costs
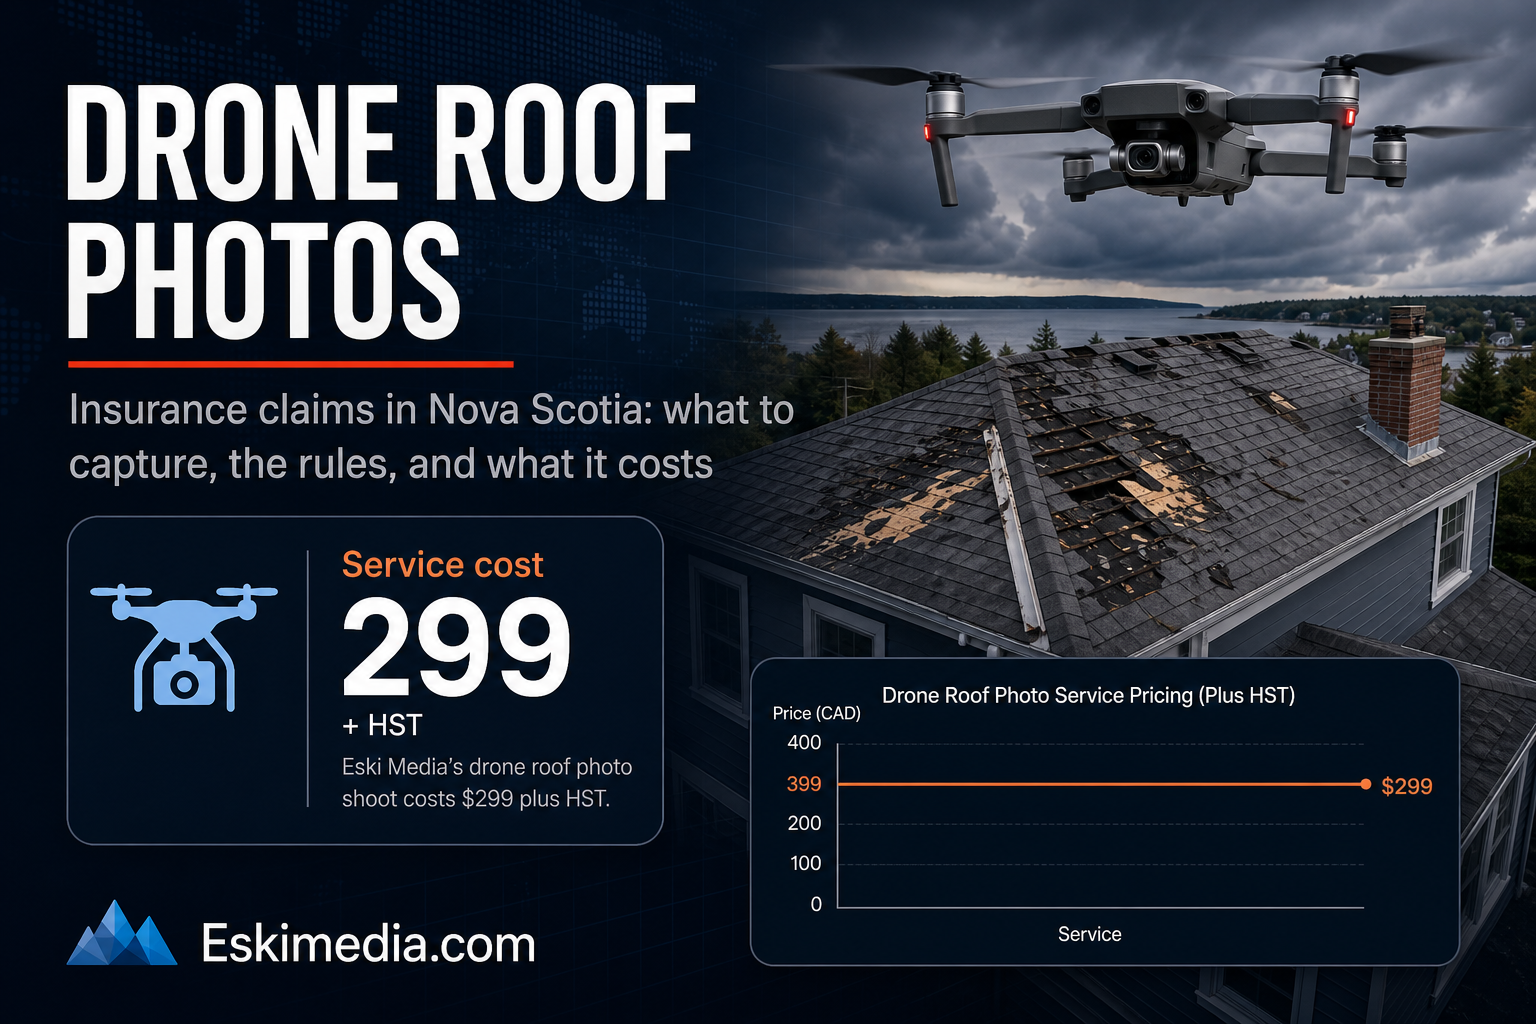
For Eski Media, a drone shoot is $299 plus HST. That covers the flight, the airspace check and any authorization filing, and delivers the raw 4K footage and still photos. It doesn’t include editing, and it isn’t an inspection report or a damage assessment. For insurance and quoting purposes, raw and unedited is exactly what you want. Our $349 package adds edited promotional videos and photos, which are for marketing, not claims.
A roofing contractor may include drone photos at no charge if you’re getting a quote from them. That’s a good option too. An independent set of images is useful when you want several quotes, when you manage a property for someone else, or when you want the documentation before any contractor is involved.
For Roofers and Property Managers
If you’re a roofing company without a drone, or a property manager responsible for several buildings, the same imagery works for before-and-after documentation of jobs, condition records at the start of a lease, and marketing photos of completed work. Our article on drone photography for Halifax contractors and real estate agents covers those uses.
If you need roof imagery for a claim or a quote, send us the address and we’ll confirm whether it needs an airspace authorization and when we can fly. Details of the service are on our drone page.